Rapid Prototyping

Building bioprinters for a community lab that had none.

I started from Carnegie Mellon’s open-source design for printing soft gels, called FRESH. I sourced parts, fabricated components, and assembled, calibrated, and tested three printers. Lab members then used them in their own experiments.

Biopunk Laboratories, San Francisco · Lab member · 3–4 months

The lab couldn’t afford a bioprinter, and nobody in the community could build one.

Biopunk Laboratories is “a community of scientists, entrepreneurs, students, and artists playing at the edge of biotech.”1 Members wanted to try bioprinting for work like tiny fluid-channel devices, drug testing, and tissue models. Commercial bioprinters can cost $100K or more,2 and building one takes mechanical skills the community didn’t have.

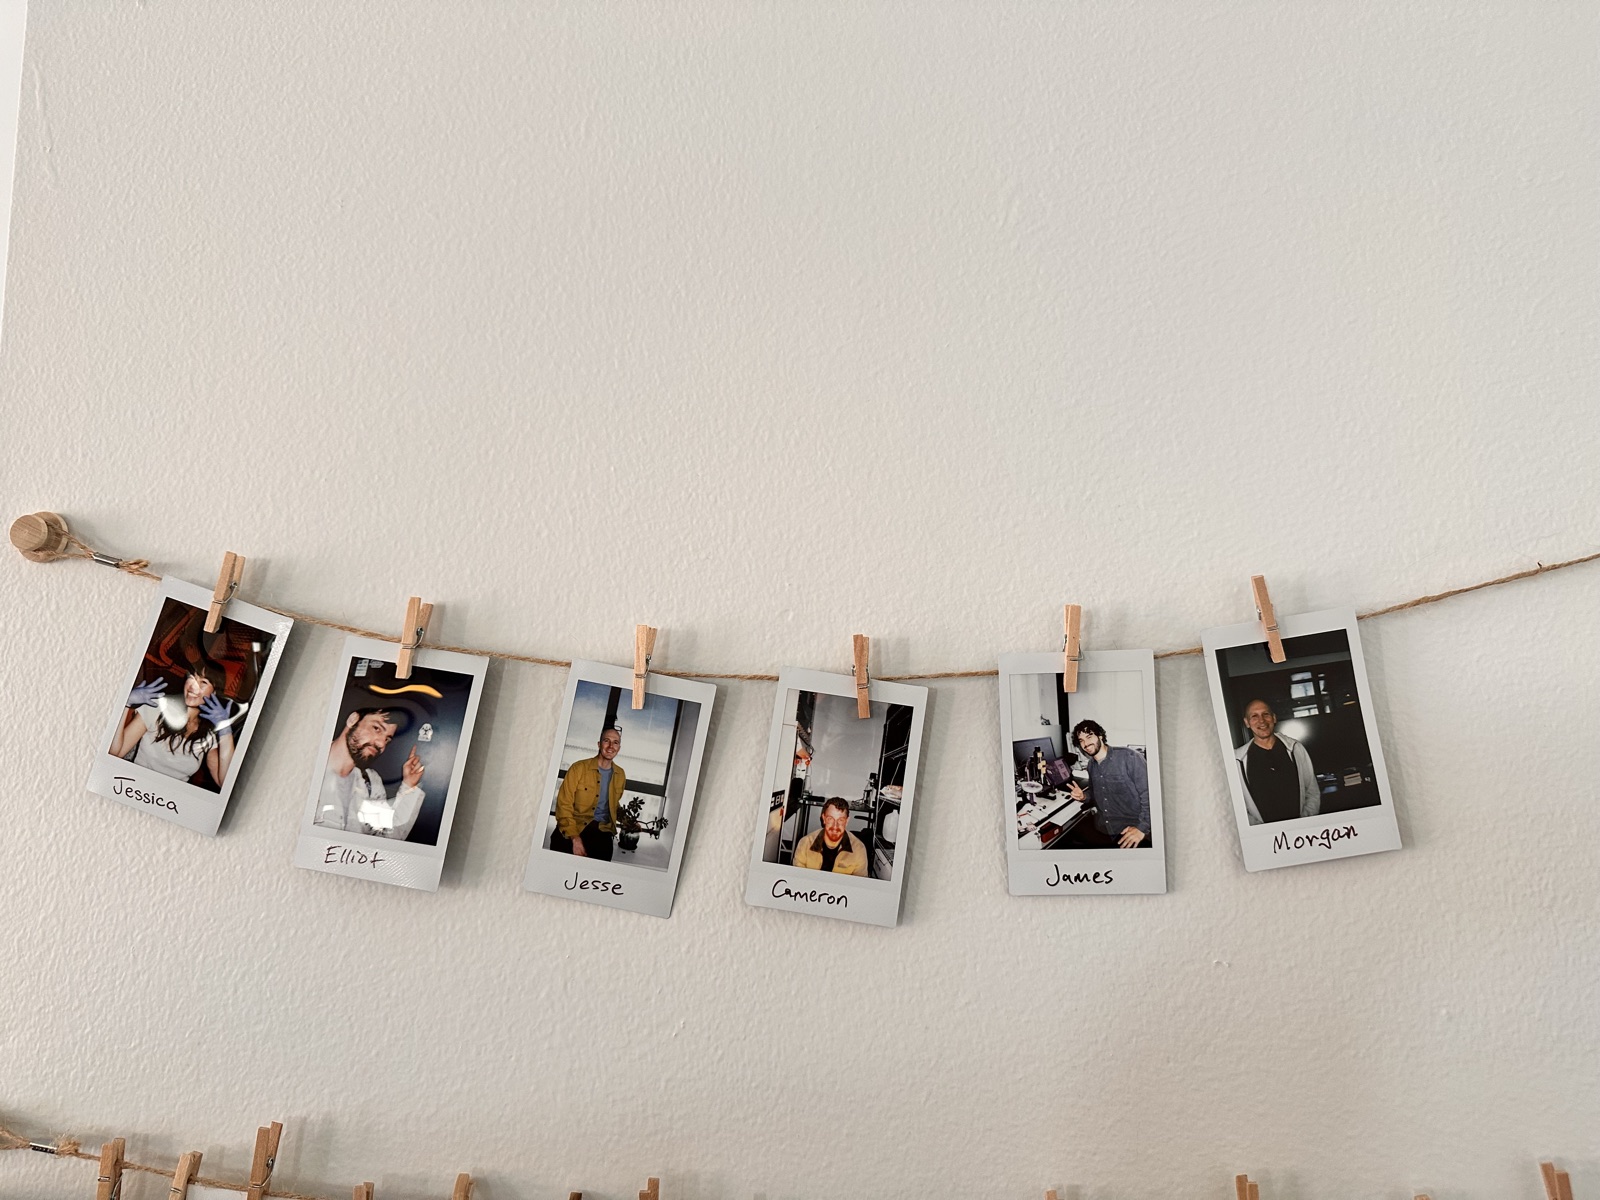
A wall of instant-camera photos, each labeled with a lab community member’s first name
The Biopunk Laboratories member wall.

Carnegie Mellon had already published an open-source way to print soft material.

FRESH (Freeform Reversible Embedding of Suspended Hydrogels) prints soft gels inside a support bath instead of in open air, so each layer holds its shape.2 I trained on the method at Carnegie Mellon’s bioprinting workshop, then adapted it to hardware the lab could buy, repair, and modify.

I converted a stock desktop 3D printer into a bioprinter.

I removed the filament extruder and mounted a Replistruder 4 syringe pump in its place. I also fabricated custom mounts, modified the controls, and put a support-bath dish on the bed.

What changed

  • Syringe pump replaces the filament extruder
  • Custom carriage mount
  • Support-bath dish on the bed
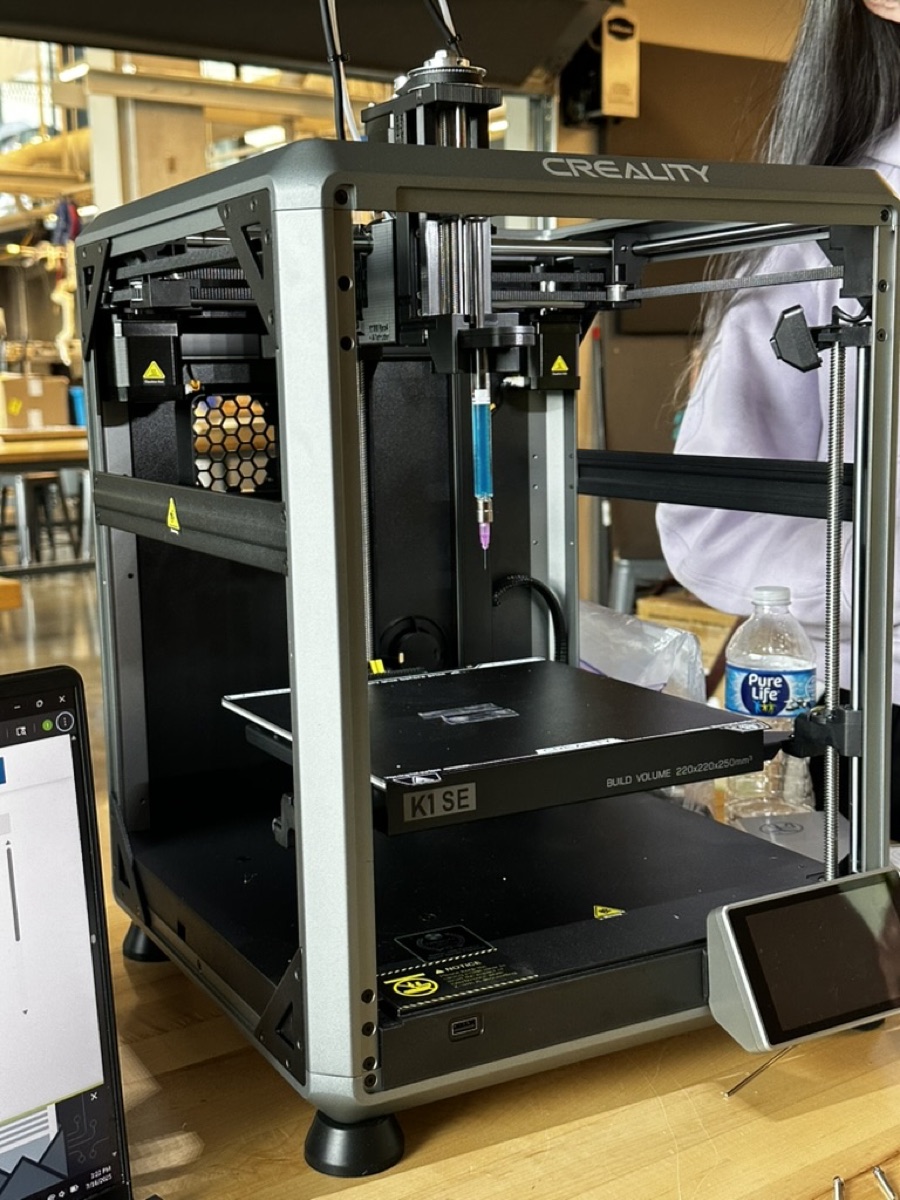
Before: stock Creality K1 SE
After: converted for bioprinting

Inside the pump, a motor pushes the syringe plunger in small steps.

The Replistruder 4 is an open-source syringe pump. A stepper motor turns a threaded rod, the leadscrew, which drives the plunger down.

Parts

  • Motor
  • Leadscrew and belt drive
  • Syringe carriage
  • Syringe and needle
  • Printer mount

A print starts as a loaded syringe and ends in the incubator.

  1. Prepare and load

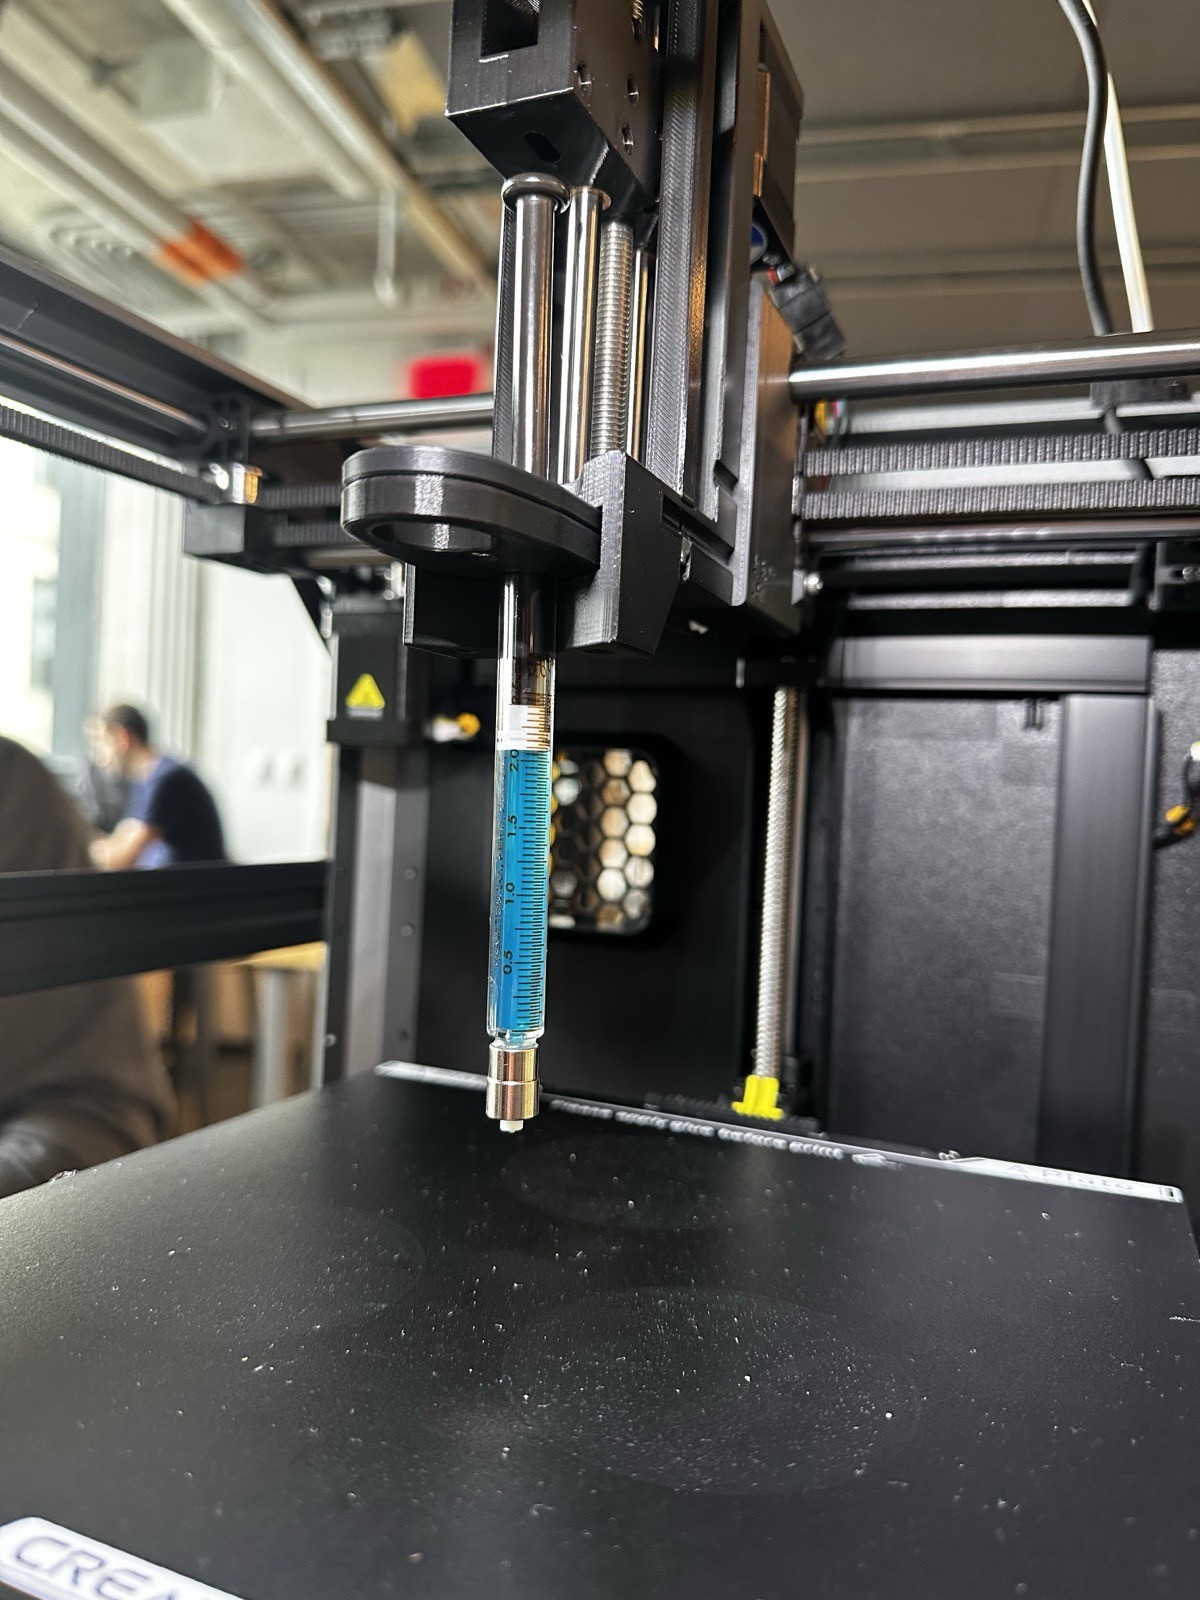
    A syringe of blue bioink mounted in the syringe pump, above the printer bed

    The syringe pump, loaded with alginate bioink, the gel the printer lays down.

  2. Calibrate

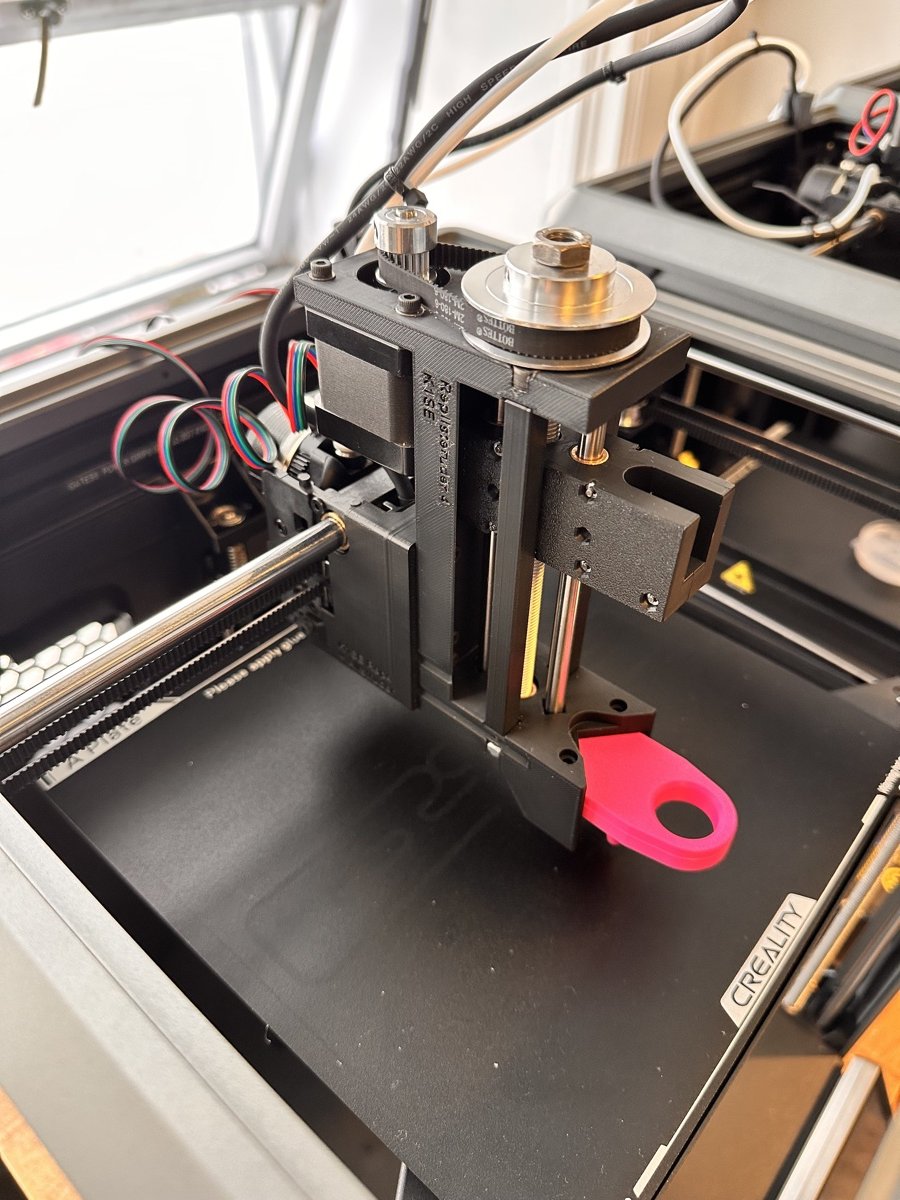
    The syringe pump mounted on the printer, showing its motor, belt, and pulley, with a pink honing tool attached below

    The pink honing tool is used to align and calibrate the pump.

  3. Print

    The needle prints an artery-shaped structure inside a gelatin support bath.

  4. Incubate and inspect

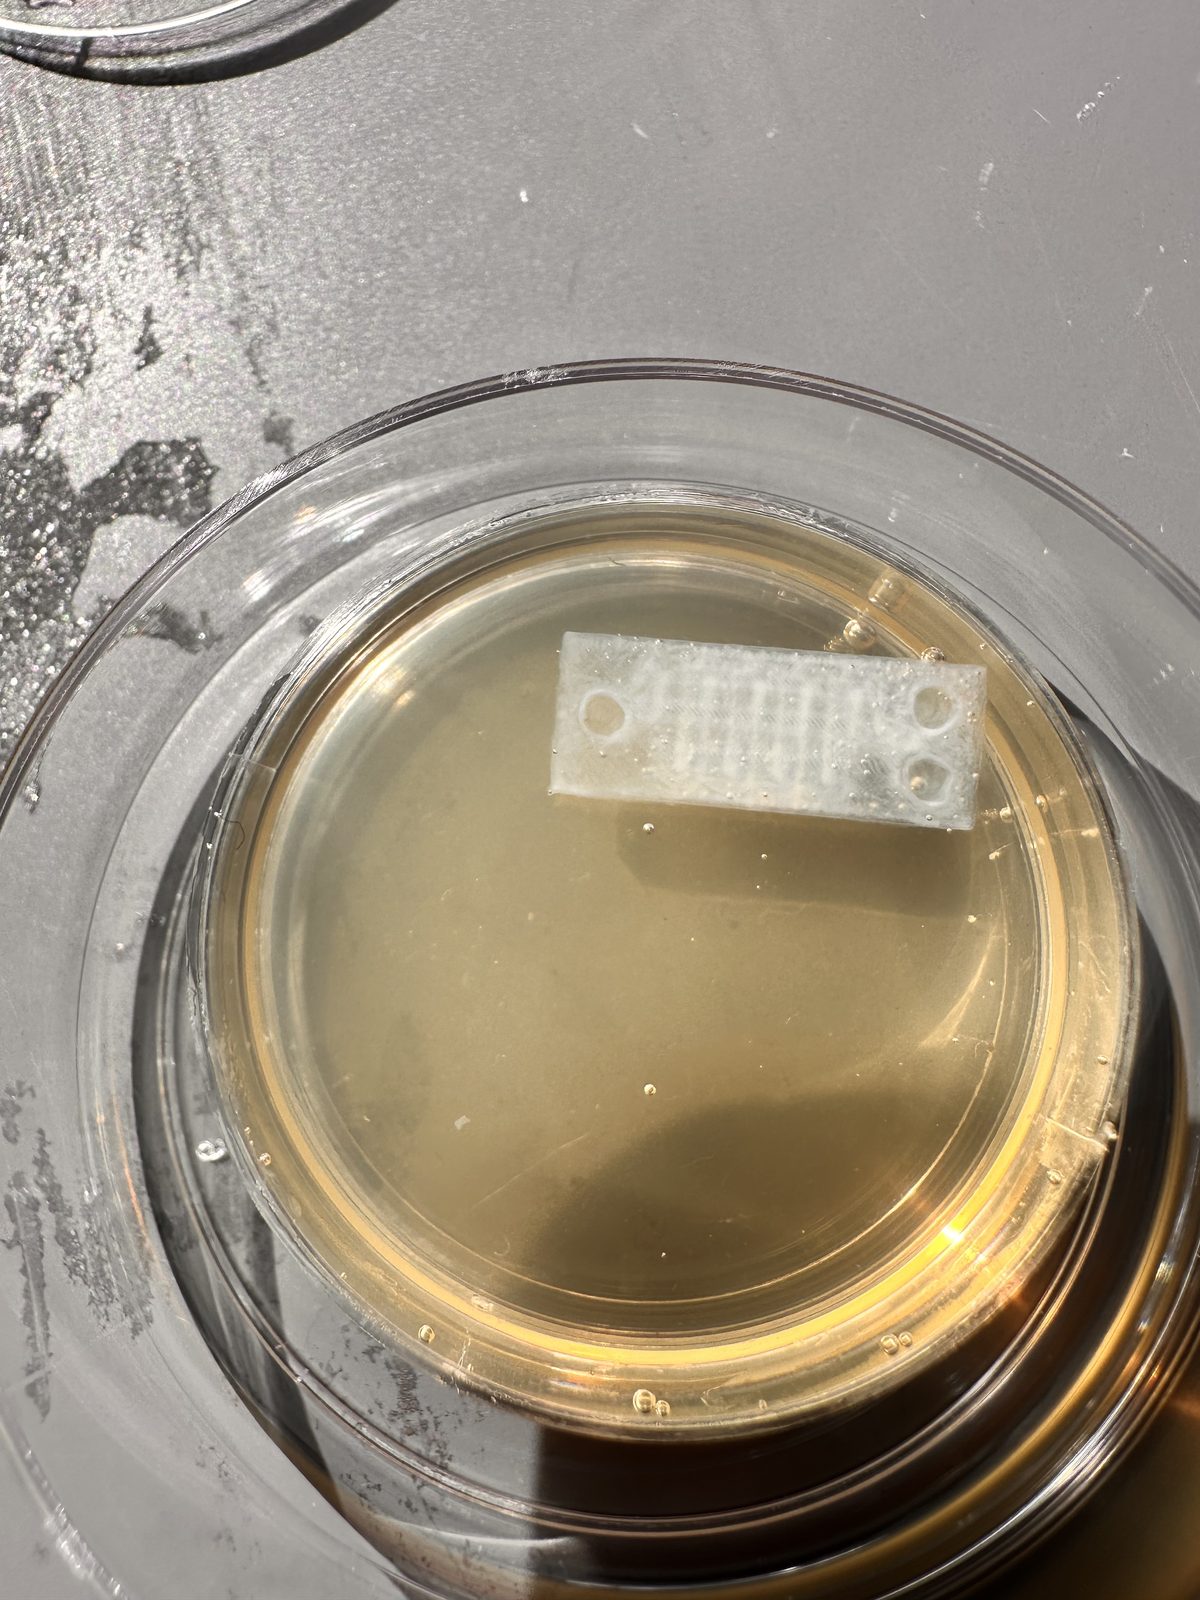
    A printed structure intact after incubation, submerged in growth media

    A printed copy of Carnegie Mellon’s CHIPS scaffold,3 which has built-in channels for fluid. It held its shape after incubation.

I swapped two materials to make test prints cheap and keep them from falling apart.

Commercial bioink replaced by Alginate mixed from bulk powder

Commercial bioink can cost tens of dollars per milliliter, and testing a printer takes many throwaway prints. Alginate cost pennies to mix, so test prints became cheap enough to repeat, and they held together through printing and incubation.

Trade-off: extra prep time, and the batches weren’t sterile, so they worked for testing the printer but not for living cells.
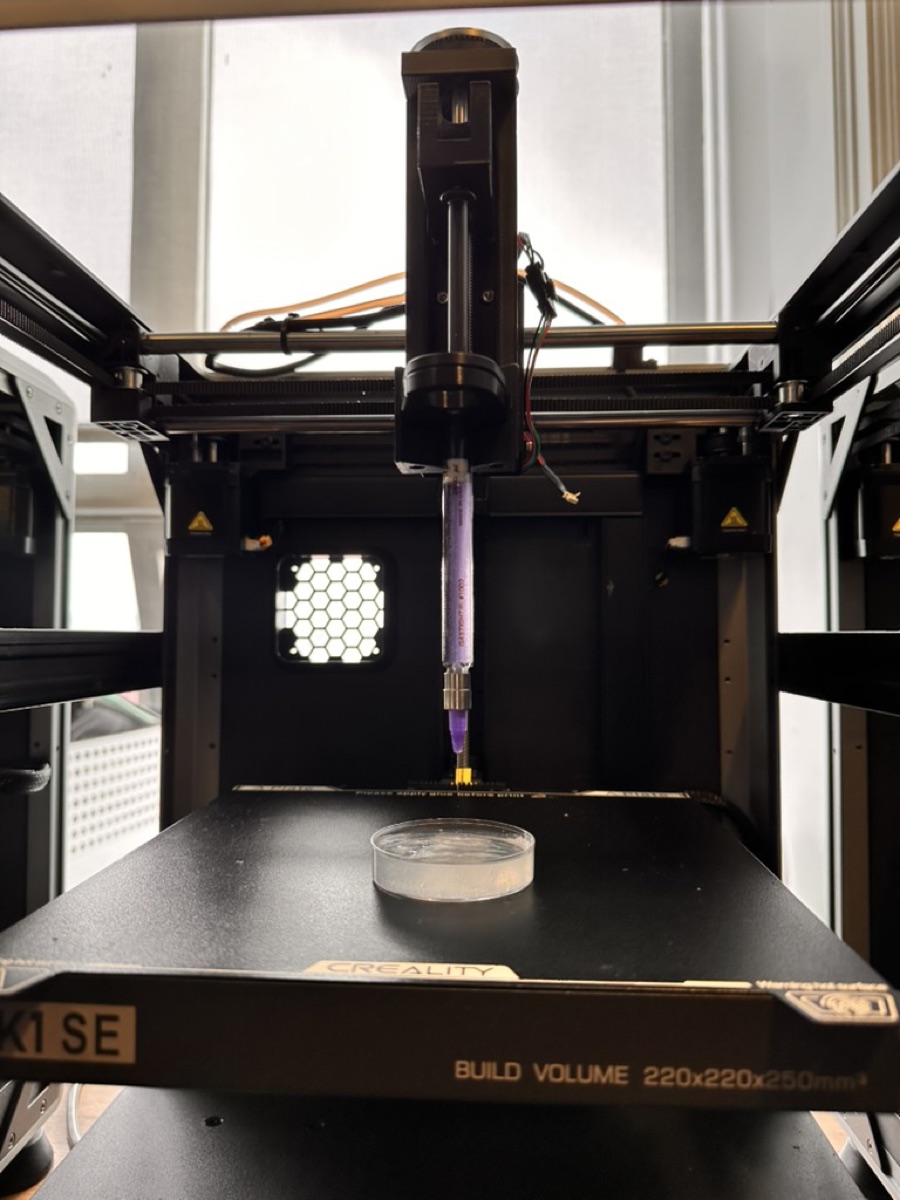
Custom syringe extruder mounted on the printer, positioned above a petri dish of hydrogel
Printing with the low-cost alginate.

Gelatin bath replaced by Agarose bath

Gelatin melts at body temperature, so prints couldn’t stay in the incubator for long. Agarose stays solid, so prints kept their shape longer.

Trade-off: the bath has to be washed away instead of melted off.

The lab can now bioprint.

An open-source design makes a bioprinter cheaper, but someone still has to build it. Most of my work was sourcing parts, making them fit, and testing until other people could use the machines.

A finished bioprinter on a lab bench, with a syringe of alginate bioink mounted
One of the three finished printers.
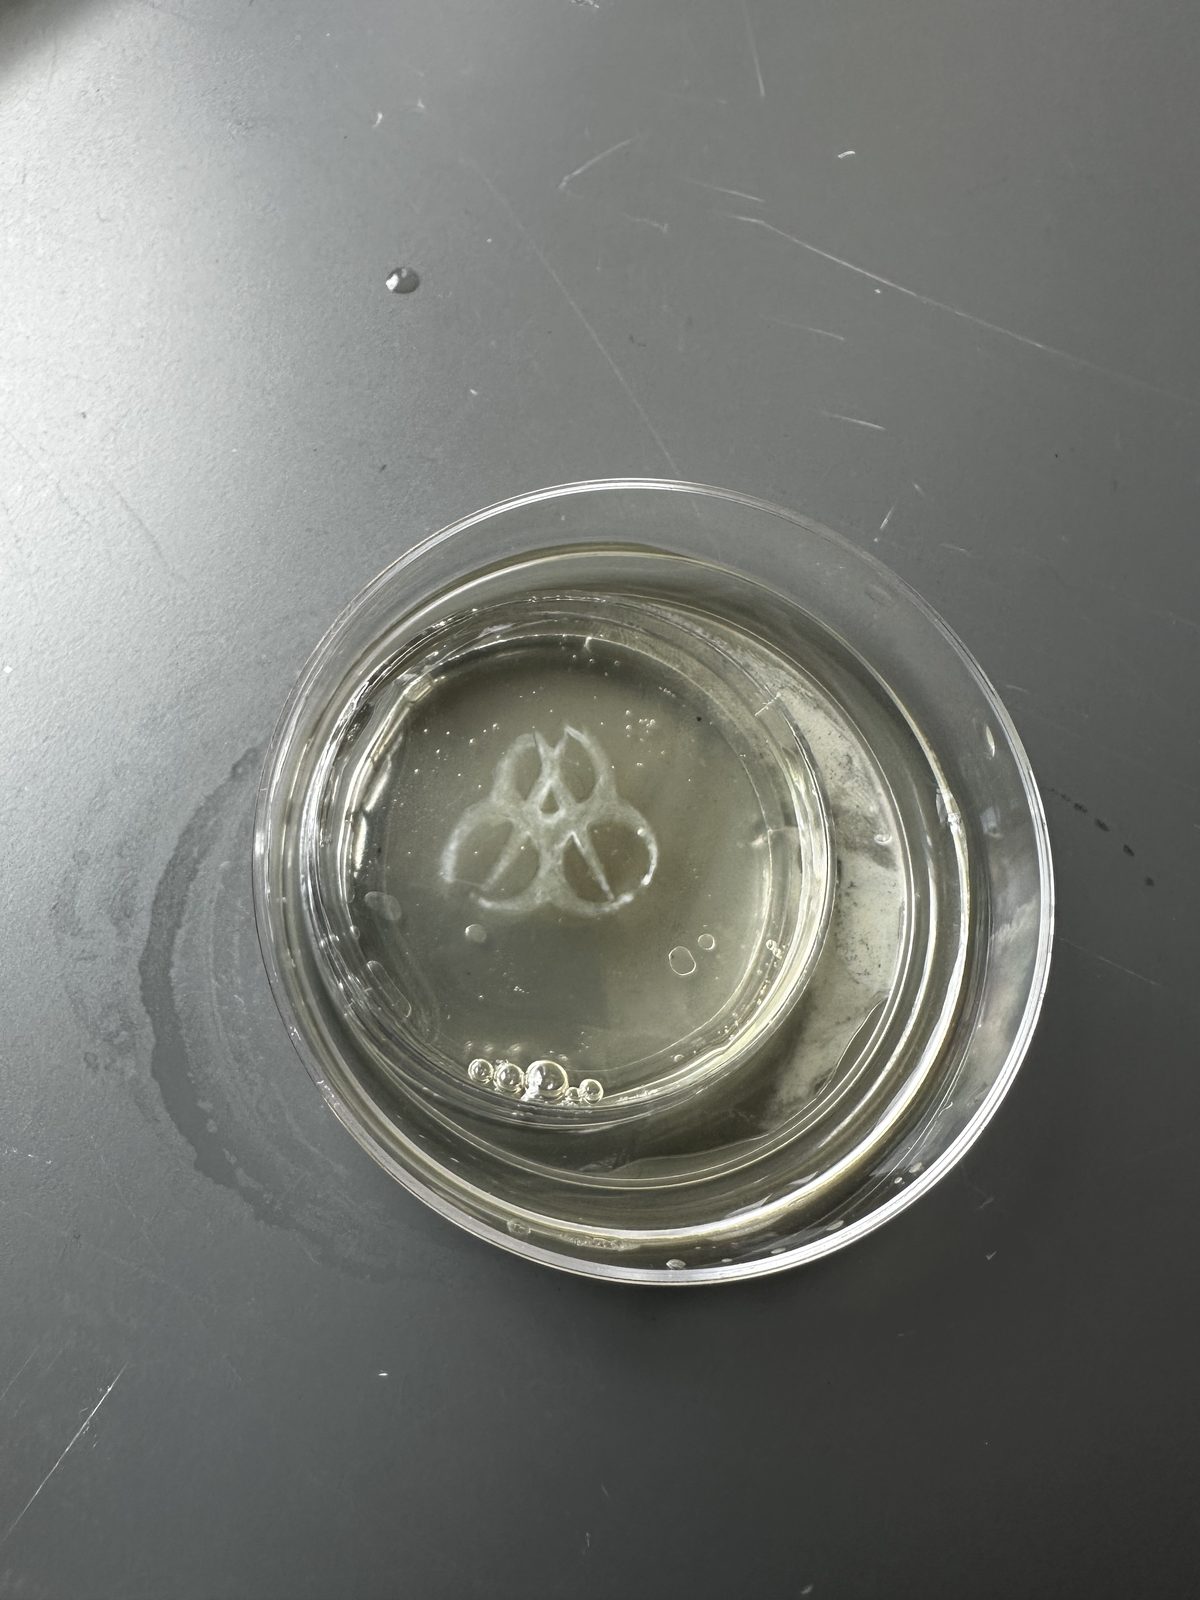
A small clover-shaped hydrogel structure printed by the machine, submerged in a petri dish
The Biopunk Laboratories logo, printed in alginate for fun and shown after incubation.
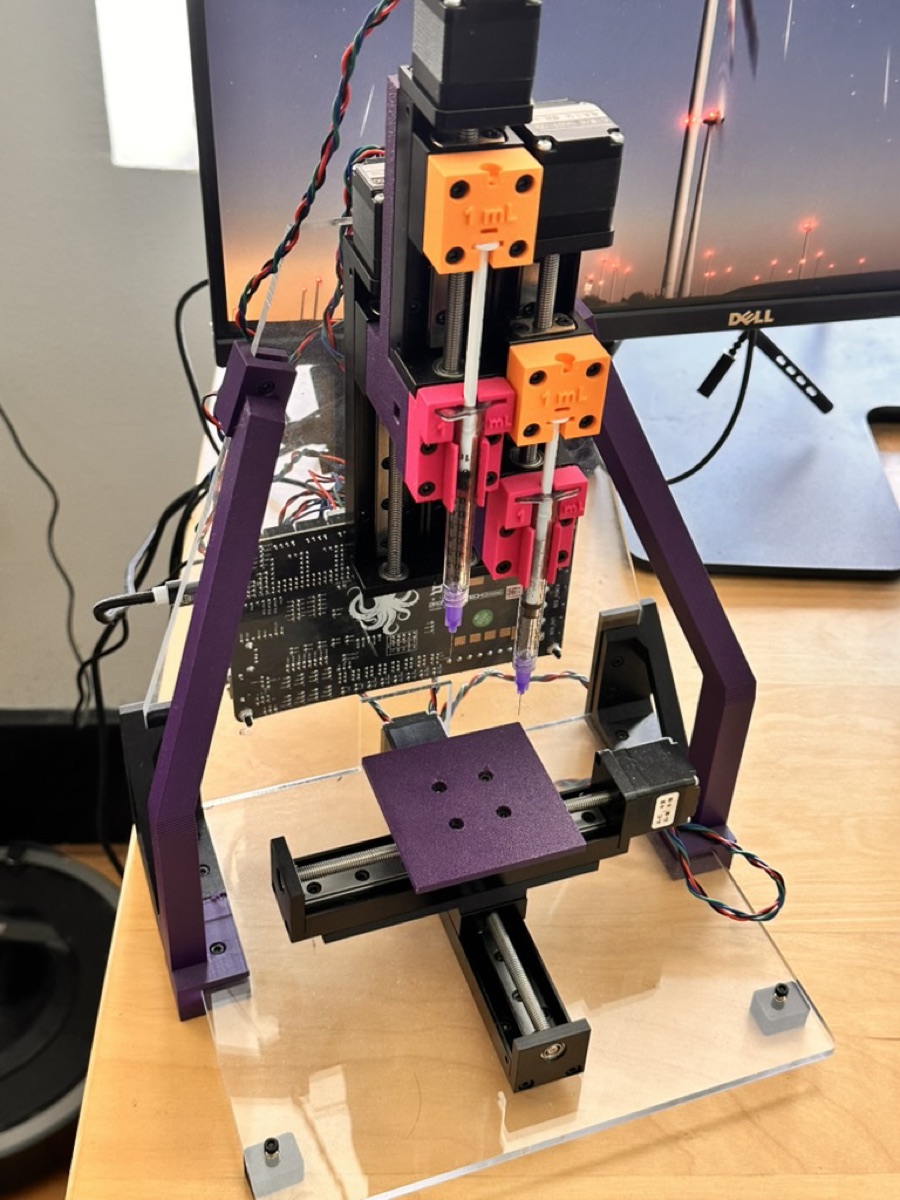
The assembled Stanford Printess bioprinter
The Stanford Printess: assembled4

Sources

  1. Biopunk Laboratories — https://biopunklab.com/ ↩

  2. Hinton, T. J., et al. “Three-dimensional printing of complex biological structures by freeform reversible embedding of suspended hydrogels.” Science Advances (2015) — the FRESH method this project’s machines are built on. Read the paper (opens in a new tab) ↩a ↩b

  3. Shiwarski, D. J., Hudson, A. R., Tashman, J. W., Bakirci, E., Moss, S., Coffin, B. D., and Feinberg, A. W. “3D bioprinting of collagen-based high-resolution internally perfusable scaffolds for engineering fully biologic tissue systems.” Science Advances (2025) — the CHIPS/VAPOR platform this printed structure recreates, from the same Carnegie Mellon University lab behind the FRESH method (footnote 2). Read the paper (opens in a new tab) ↩

  4. Skylar-Scott, M. A., et al. “A Low-Cost, Open-Source 3D Printer for Multimaterial and High-Throughput Direct Ink Writing of Soft and Living Materials.” Advanced Materials 37, no. 10 (2025) — the paper behind Stanford’s Printess. Read the paper (opens in a new tab) ↩